


Up! 3D Printer Plus Review
Here are some images of my first projects created on the UP! 3D Printer Plus using the latest 0.15mm resolution build settings.

A family portrait 3D Scanned using the Microsoft XBox Kinect with free ReconstructMe software.

Mesh clean up using the powerful free GOM Inspect mesh editing software.

CAD model is easy scaled and ready to print using the Up! Printer software.


Hot off the press. The high resolution model finished in around 4 hours. The UP! white ABS has great translucent qualities.
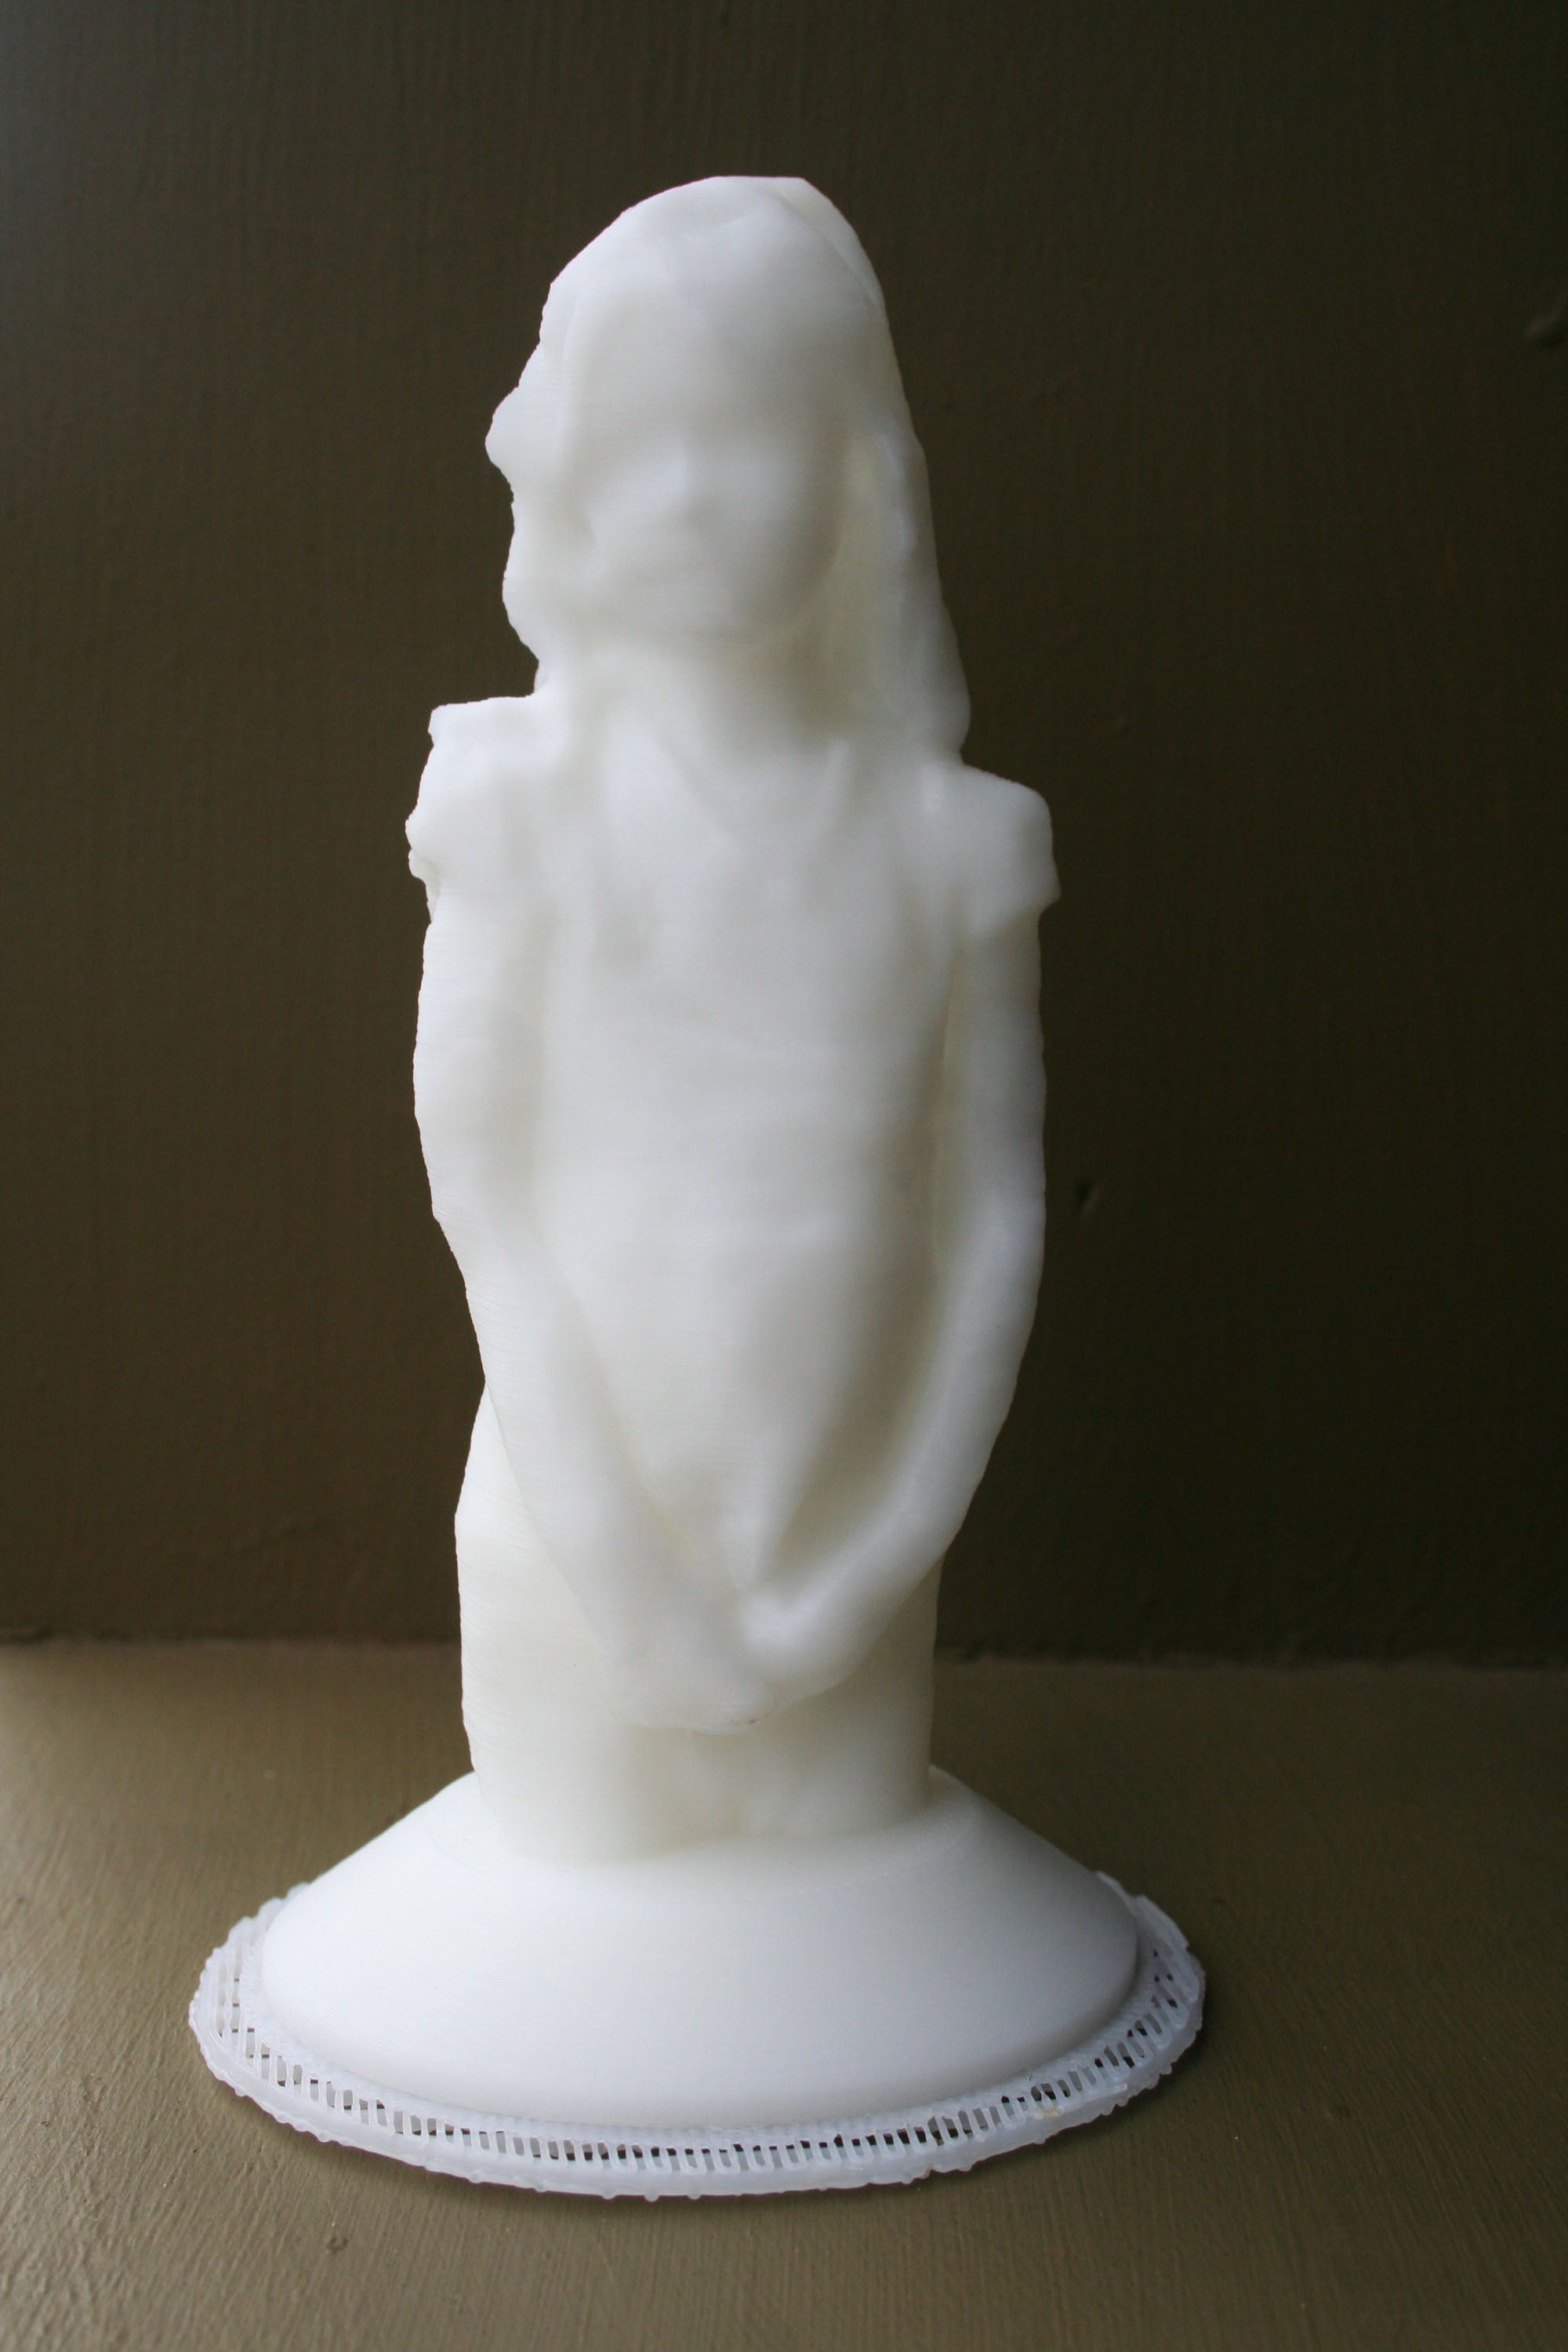
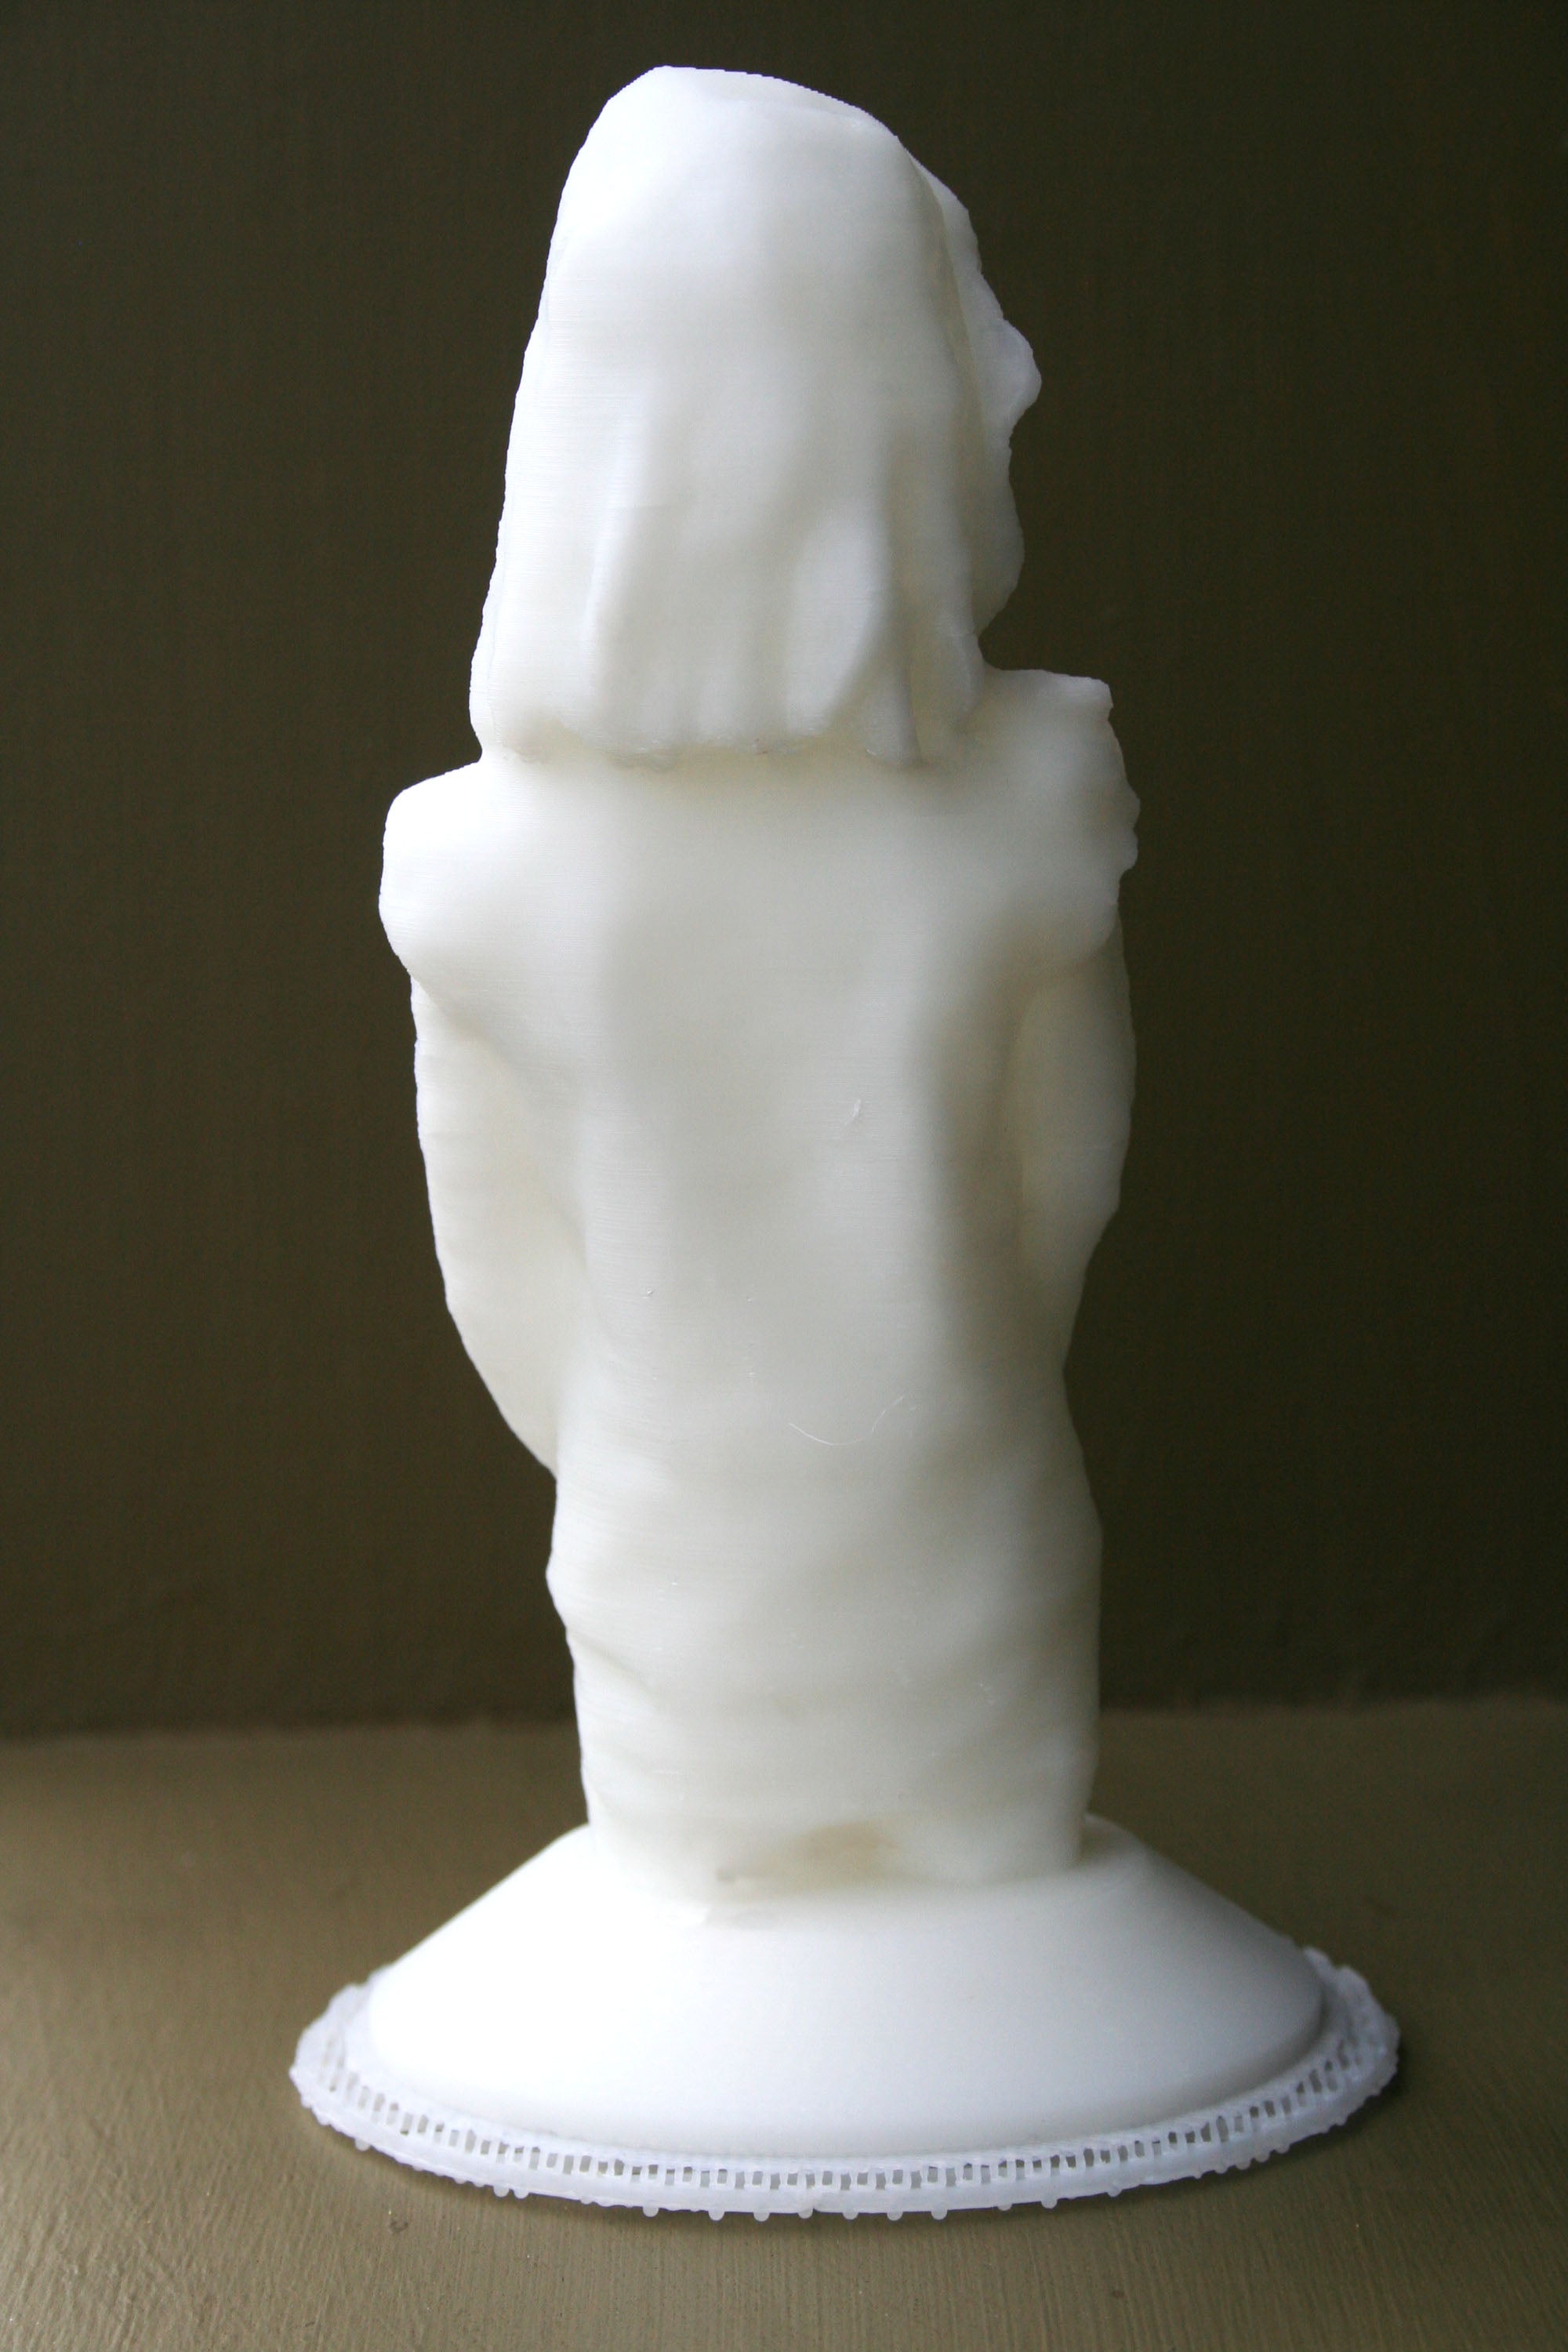
What an angel- the perfect Christmas present for the grand parents!

Scanned data of a prehistoric crocodile skull in Rhinoceros software
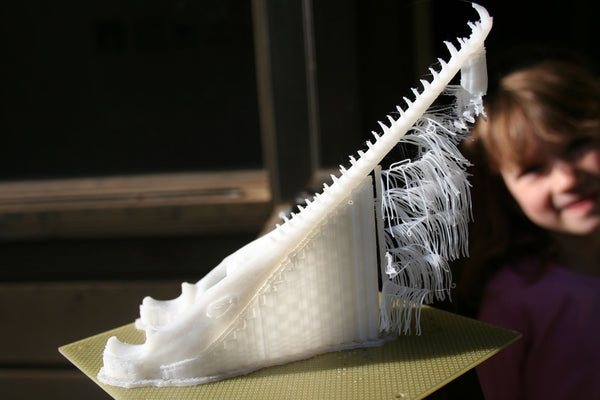
Lower jaw printed on Up! printer plus. The support structure fell off at the end and the printer gave the croc a beard!

Two parts of the skull. Note how well the teeth printed.

The Up! 3D printer plus was set at 0.15mm built increments. The resolution and detail is just awsome!

Never smile at a....

The Groncle created by Creature Technologies for the "How to train your dragon area spectacular". This model was generated from CNC machining the scan data of the clay marquette.

The original 3D scan data of a clay marquette of the Groncle.


Print in progress on the Up! 3d printer plus. Note the internal ribs and support structure- automatically generated in the UP! software.

Nearly there...

Beep beep beep.Hot off the press.

Love the support structure. Looks like he's sleeping.The fine wings would be impossable to build without it.

The underside. Note the clever support structure which ensures maximun adheison to the plate whilst minimising distortion of the part.

Breaker breaker- 15 minutes later...the remnants of the support structure.

Finished. The print detail is incredible, you can even make out the wrinkles in the skin.
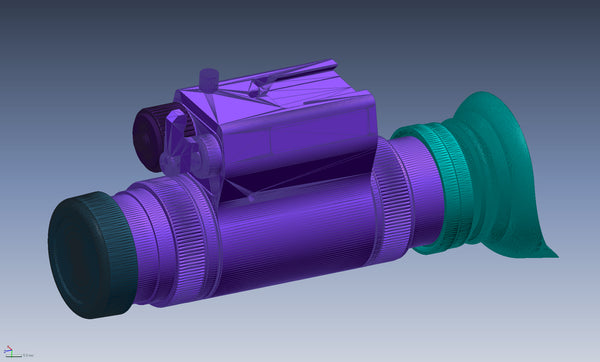
The monocular CAD model converted to a stl mesh ready for printing

Round and round she goes. This part has a 0.7mm wall thickness. No problem for the Up! 3D printer plus!

A strong usable prototype. A 0.1mm clearance gave the perfect fit between parts.
Conclusion
I have had a few days to put the UP! Printer through its paces, and I have got to say I am suitably impressed. The results I’ve been getting have exceeded expectations. I thought I’d share some of my first prints with you as there probably isn’t that much printed in the higher 0.15mm resolution.
Firstly the detail is much greater than I expected. The Groncle has very slight wrinkles in the skin texture, these have translated into the prints. Photos do not do the printer justice- in real life you can hardly notice the layers at all. The monocular has 0.7mm wall sections, this printer without a blemish.
The strength of the material is stronger and tougher than expected. You can truly make functional prototypes with this printer.
I have also grained an appreciation for the different materials. The white material is much easier to break off the raft and sands beautifully. The other 1kg material seem to be a light less chalky and probably better for flexible snap fits.
The software is very easy to get familiar with and use. The support structures are impressive. It is easy for newbies to pick up quickly.
Mark Pestkowski
Director of Design
X-RAY DESIGN